Embracing Automation on a Budget: Building Your Own 4-Axis Servo Palletizing Arm
The world of industrial automation is no longer exclusively for deep-pocketed corporations. With the rise of accessible components and open-source software, ambitious engineers and makers can now prototype functional automation solutions—like a 4-axis servo palletizing arm—right in their workshops. While companies like Huaxiu Robot offer turnkey solutions (collaborative palletizers, strapping robots, etc.), a DIY approach offers invaluable learning, customization, and cost savings for low-volume applications. Let’s dissect this ambitious project.
Why Build a DIY Palletizing Arm?
Palletizing—stacking goods systematically onto pallets—is repetitive, physically demanding, and prone to human error. Commercial robots excel at high-speed, heavy-duty tasks but can be overkill for small businesses or niche applications. A DIY 4-axis arm fills this gap by offering:
- Cost Efficiency: Commercial arms start at $15k+; DIY builds can cost <$3k with careful sourcing.
- Educational Value: Learn robotics kinematics, servo control, and motion planning hands-on.
- Customization: Tailor reach, payload, and end-effector (gripper/vacuum) to unique needs.
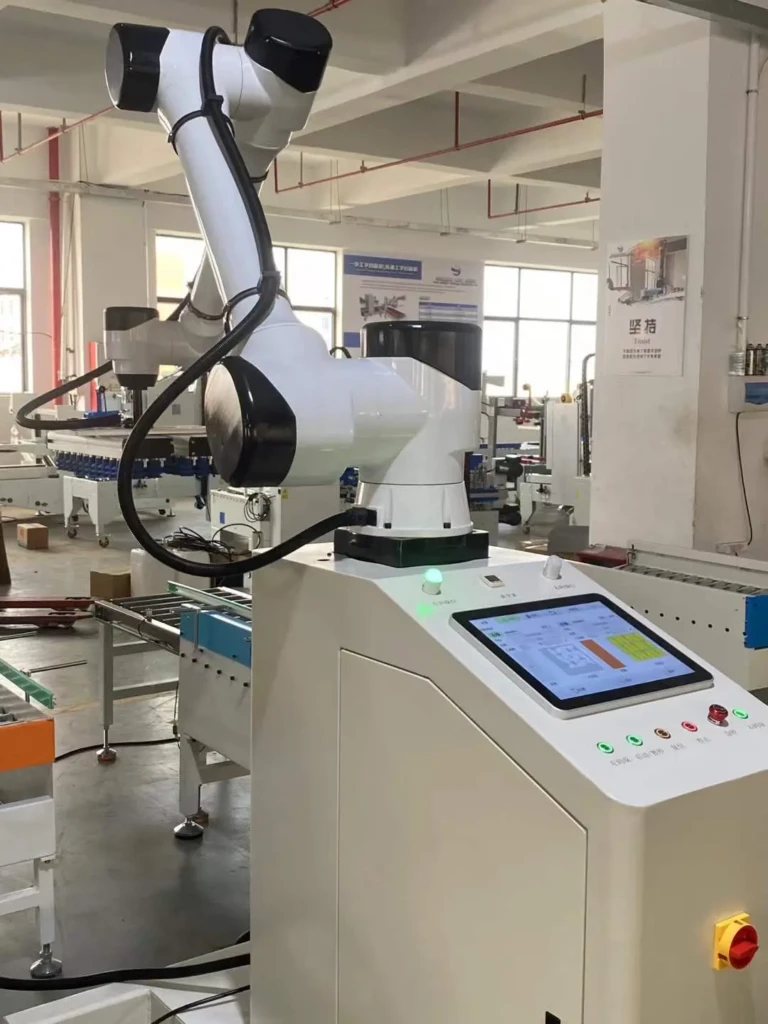
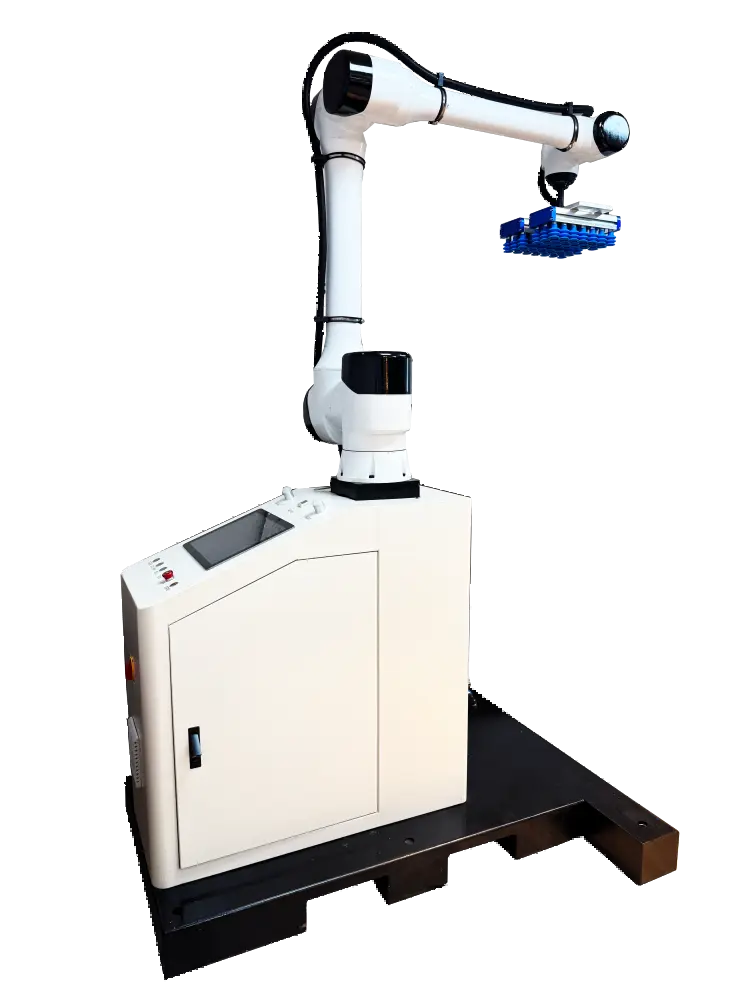
Anatomy of a 4-Axis Servo Palletizer
A functional arm requires precise coordination of mechanics, electronics, and software:
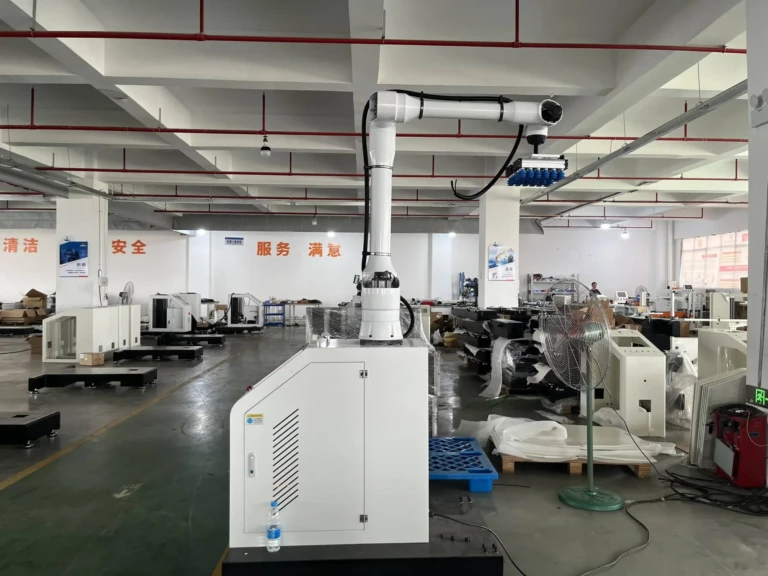
1. Mechanical Structure (The Skeleton)
- Base (Axis 1): A rotating turntable bearing (e.g., 200mm diameter) for 360° horizontal rotation.
- Shoulder (Axis 2): A high-torque servo (e.g., 50kg-cm) lifting the upper arm vertically (0-90°).
- Elbow (Axis 3): A mid-torque servo (20kg-cm) controlling forearm flexion.
- Wrist (Axis 4): A compact servo (10kg-cm) for end-effector tilt (critical for pallet layer alignment).
Materials: Aluminum profiles (lightweight) or steel (sturdier but heavier). Use laser-cut/bent brackets for joints.
2. Actuation & Control (The Nervous System)
- Servo Motors: Industrial-grade digital servos (e.g., DYNAMIXEL or JX-6374) with position feedback.
- Controller: Arduino/Raspberry Pi running GRBL or LinuxCNC, or a dedicated servo controller (e.g., PCA9685).
- Power Supply: 24V DC, 10A+ regulated PSU to avoid servo brownouts.
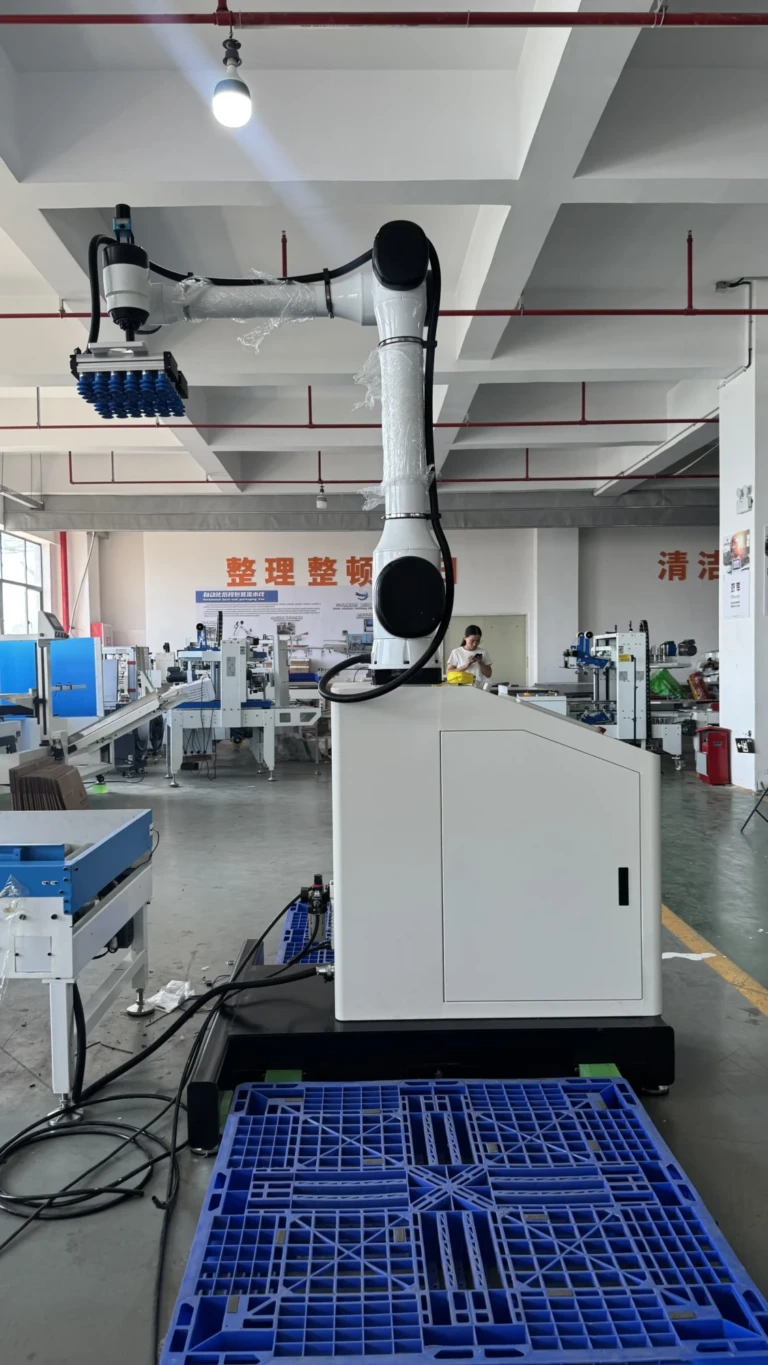
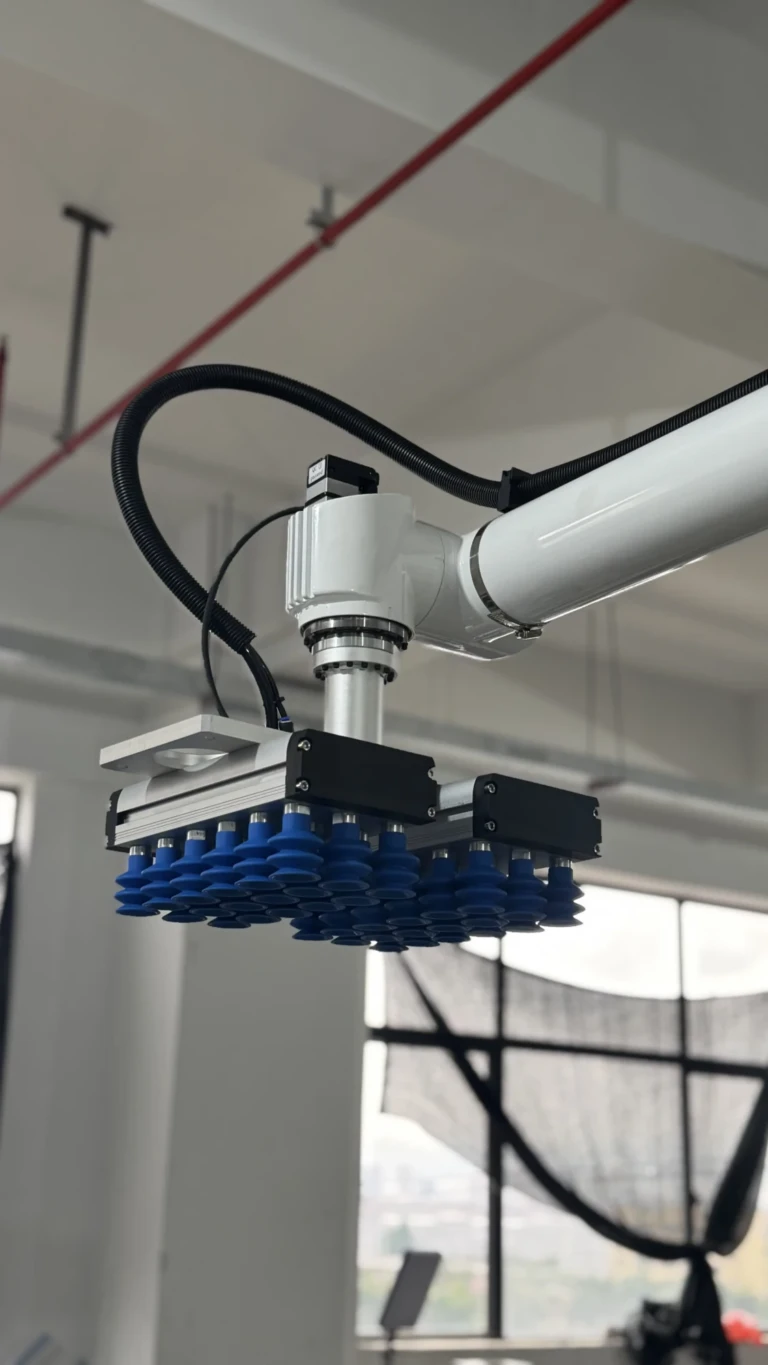
3. End-Effector (The Hand)
- Vacuum Gripper: Affordable 2-stage vacuum pumps + silicone suction cups for boxes.
- Mechanical Claw: 3D-printed or aluminum fingers for irregular items.
4. Software & Kinematics (The Brain)
- Inverse Kinematics (IK): Translates target coordinates (X,Y,Z) into joint angles. Libraries like RoboDK simplify this.
- Motion Planning: Generate collision-free paths (e.g., via Python’s PyBullet).
- UI/Telemetry: A basic dashboard for teaching coordinates (waypoints) and monitoring.
Build Diary: Key Lessons Learned
After prototyping multiple iterations, here’s what actually matters:
Torque Isn’t Everything
Excessive motor torque strains joints and increases power draw. Calculate required torque dynamically:Torque = (Payload Weight × Distance from Joint) + (Arm Weight × CG Distance)
For a 2kg payload at 50cm:(2kg × 0.5m) + (1.5kg × 0.25m) = 1.375 kg·m → 137.5 kg·cm (Add 30% safety margin).
Stiffness = Precision
Cheap aluminum arms flex under load, causing positioning errors. Mitigate with:
- Triangular bracing at joints.
- Carbon fiber tubes instead of solid rods.
Teach, Don’t Code (Initially)
Manually recording waypoints (via joystick/UI) is faster than coding paths point-by-point. Once stable, automate layering patterns (e.g., interleaved brick palletizing).
DIY vs. Commercial: When to Upgrade
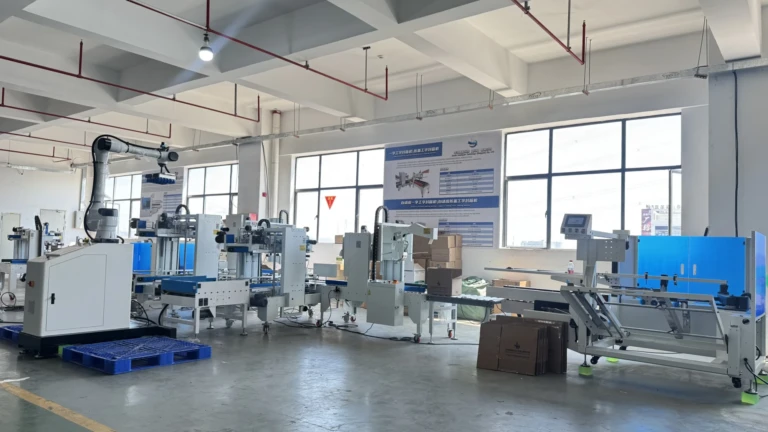
While empowering, DIY arms have limitations:
- Speed: Commercial robots (e.g., Huaxiu’s collaborative palletizers) reach 15 cycles/min; DIY builds average 4–6.
- Payload: Most DIY setups max out at 5kg; Huaxiu’s models handle 20–150kg.
- Safety: Industrial arms include collision detection and emergency stops—DIY builds need added sensors.
For 24/7 production, professional solutions are unbeatable. But for prototyping, light duty, or education? DIY wins.
Conclusion
Building a 4-axis palletizing arm from scratch is equal parts exhilarating and humbling. Beyond cost savings, it demystifies robotics, offering intimate knowledge of servo tuning, structural engineering, and path planning. While companies like Huaxiu Robot dominate the high-volume automation space, DIY builds empower innovators to solve hyper-specific challenges—whether automating a tiny warehouse or processing artisanal goods. This project isn’t just about stacking boxes; it’s about stacking skills.
FAQs
Q: What’s the total cost of a DIY 4-axis palletizer?
A: $1,500–$3,000, depending on servo quality, materials, and end-effector. Pre-built arms start at $15k.
Q: How long does assembly take?
A: 50–100 hours for design, assembly, and software tuning. Allocate extra time for troubleshooting!
Q: Can I use stepper motors instead of servos?
A: Steppers are cheaper but lack torque at low speeds and require positional feedback (encoders) for accuracy. Digital servos are preferable.
Q: Is this safe to operate unsupervised?
A: Never. Add emergency stop buttons, limit switches, and enclosures to prevent accidental contact.
Q: How scalable is this design?
A: You can extend reach or payload by scaling motor torque and structural reinforcement. Beyond 5kg, commercial arms (like Huaxiu’s pallet-forming robots) are safer.
Q: Can it handle irregularly shaped items?
A: Yes, with a customizable end-effector. Swap vacuum grippers for soft robotic claws or magnetic pickers.
Q: Why not buy a used industrial robot?
A: Used bots save time but often need proprietary controllers and expensive refurbishment. DIY offers total control.
Q: How does Huaxiu’s automatic stretch film robot compare?
A: Their fully automated stretch wrappers integrate palletizing and wrapping—ideal for high-volume logistics. DIY units typically handle stacking only.
Whether you’re a tinkerer or a startup founder, this build bridges imagination and application. And when your ambitions outgrow the garage? You’ll appreciate the engineering behind Huaxiu’s fleet all the more.